Plugin skeleton
In this tutorial, we are going to start using the the Atlassian SDK and run it using the atlas-run command. We will check if the plugin is installed and look at the demo modules provided by the atlas-create-jira-plugin command.
Source code available at https://bitbucket.org/jiradev-tutorials/plugin-skeleton
-
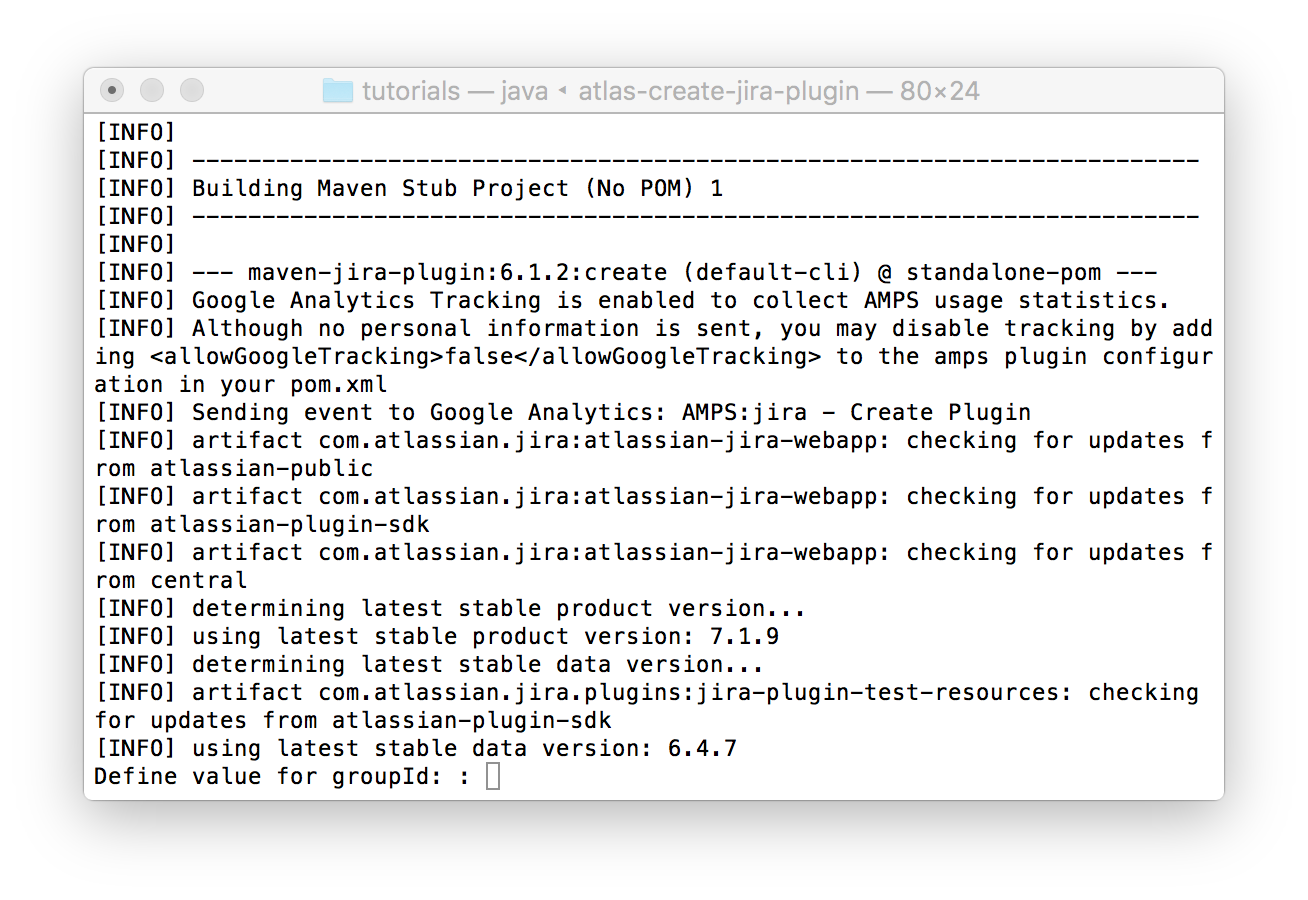
Open up a terminal and in a directory of your choice, run the "atlas-create-jira-plugin" command.
-
The SDK now asks you enter the following values.
Define value for groupId: com.jiradev.jira.plugins
Define value for artifactId: skeleton
Define value for version: 1.0
Define value for package: (Just press enter key)
Press [Y] to confirm: Y
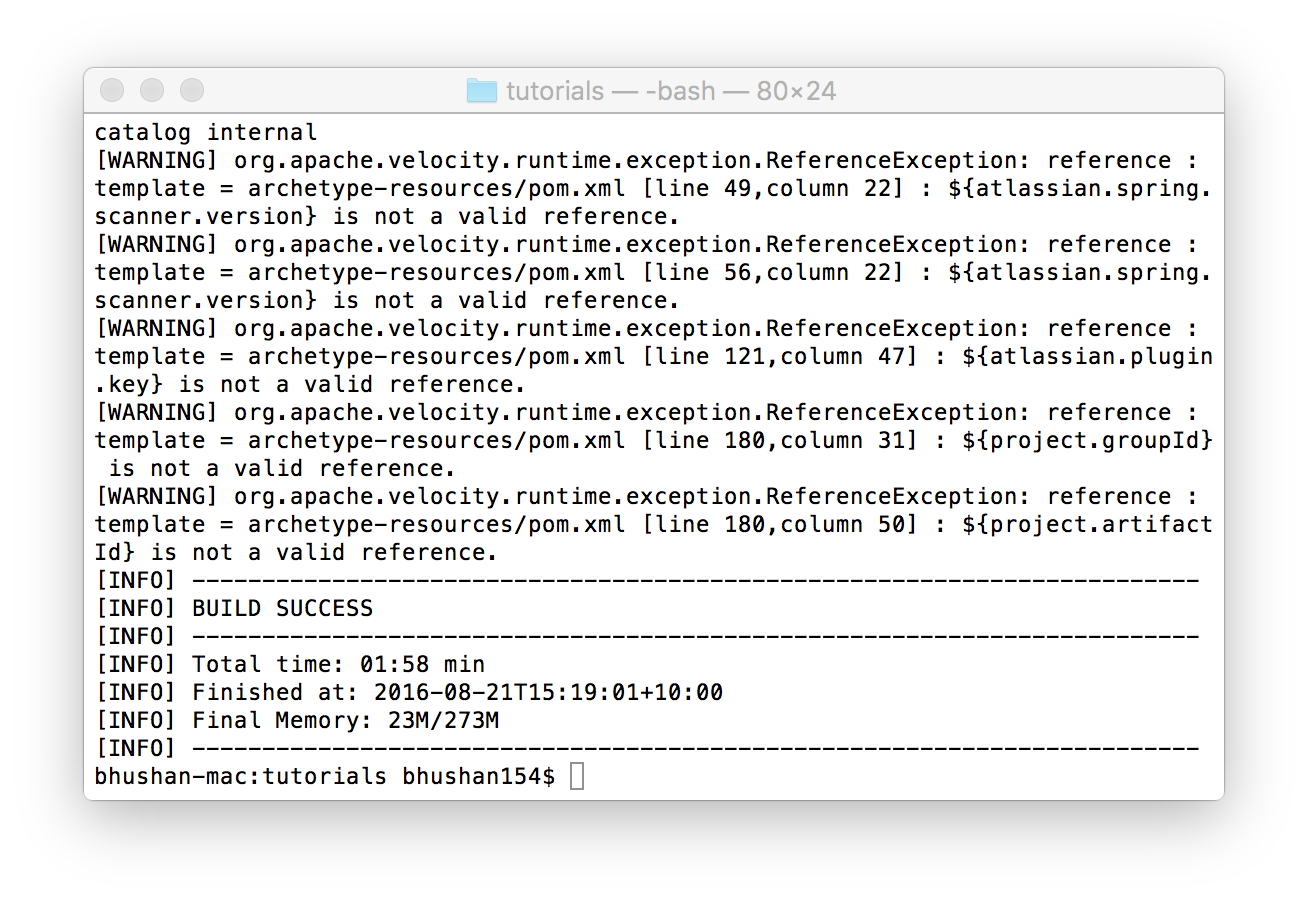
- The SDK will have created a new folder named after the artifactId. In our case, the folder will be named skeleton.
- Within the folder named skeleton, you will find a file named pom.xml. Open this file and you will find all the information
you entered above.
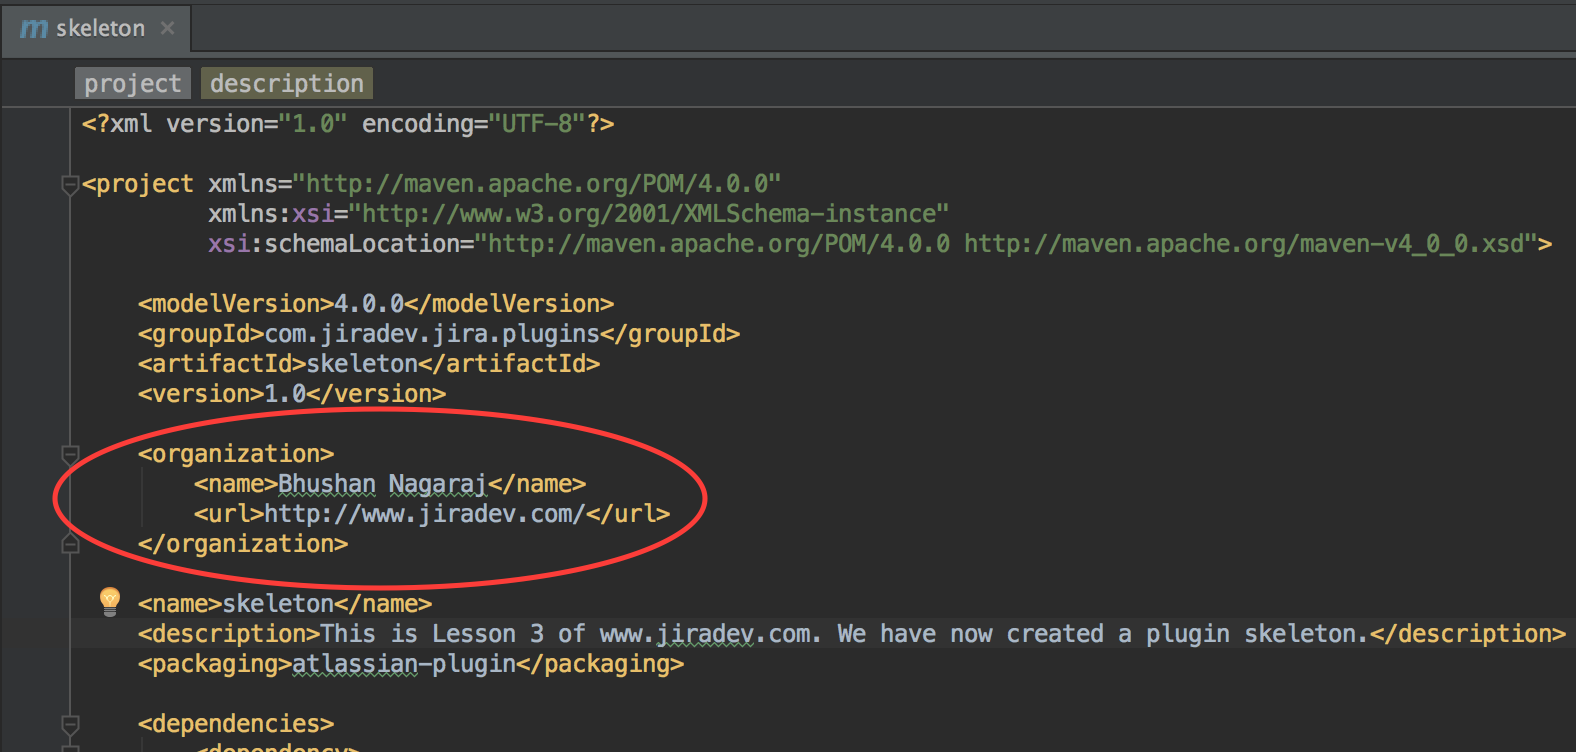
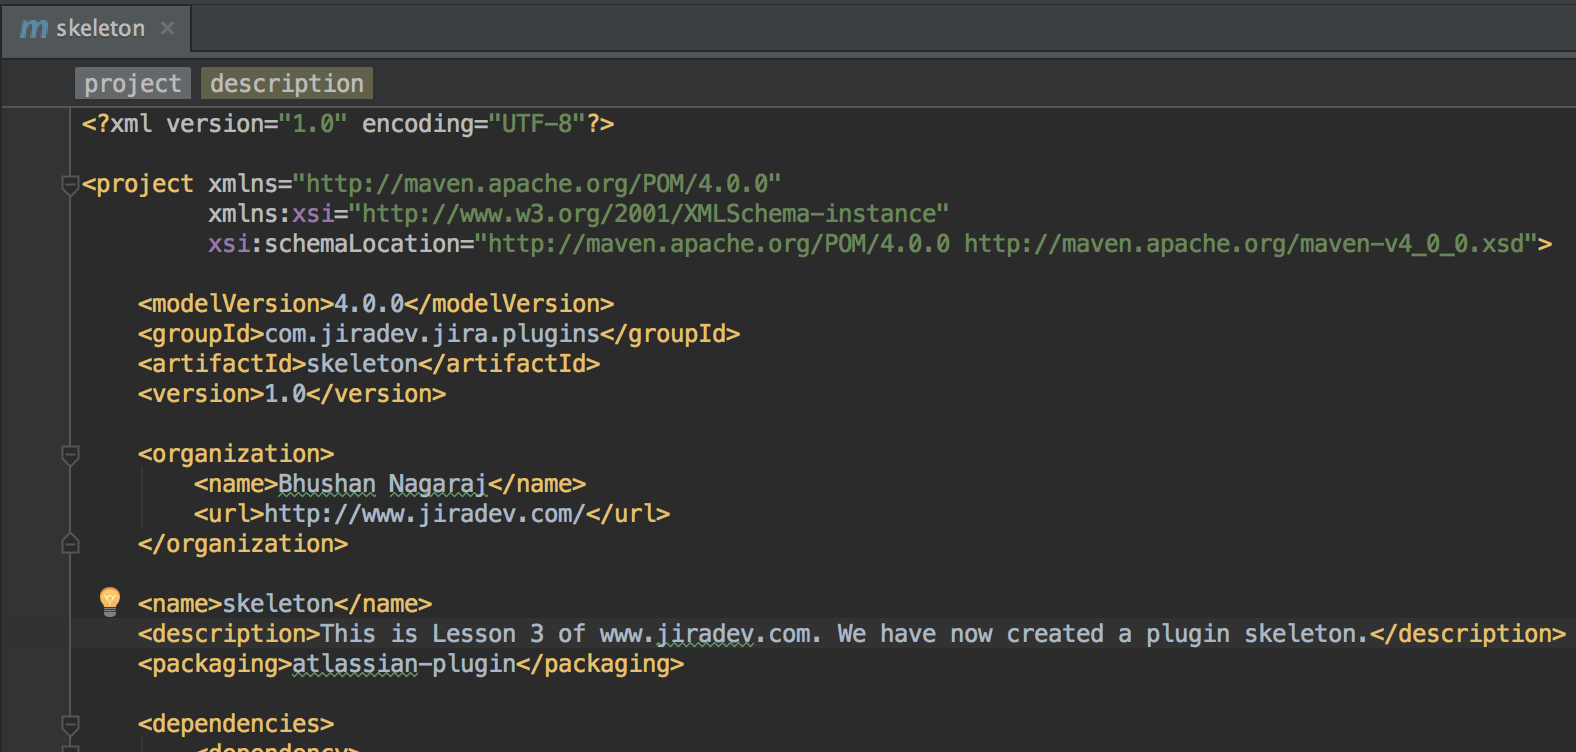
Go ahead and update the Organization name and website to your name and your website. You can also update the description of the plugin.
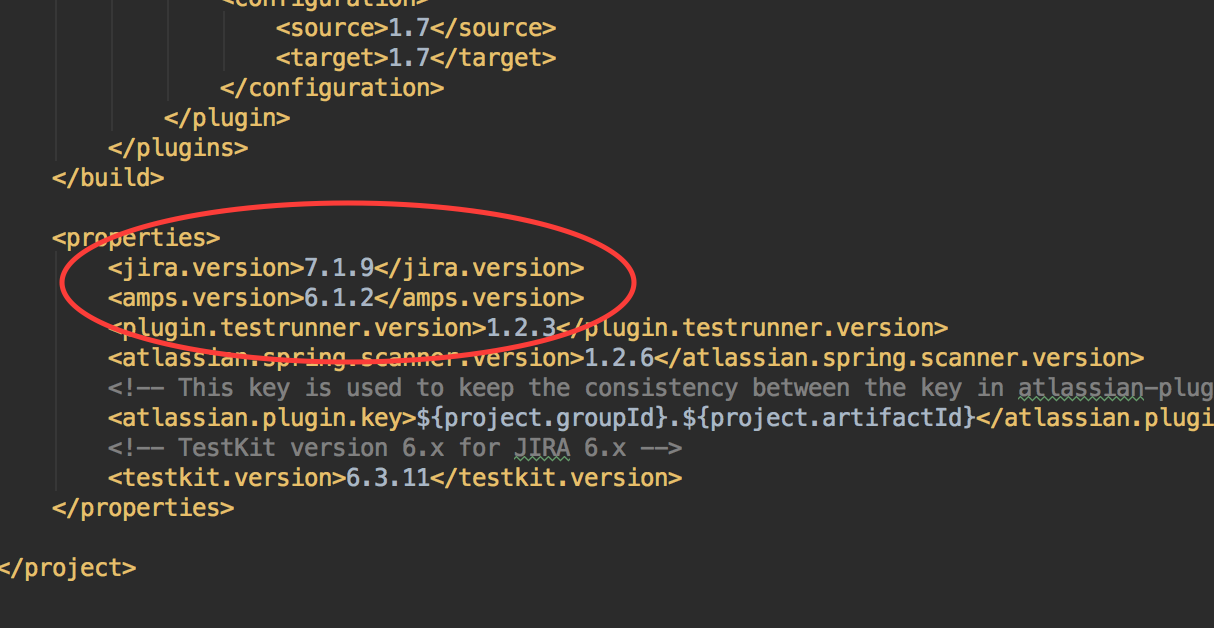
- Pom.xml also contains information related to the Jira version this plugin is intended for. Scroll down to the
end of the file and you will find
property. You can update this to any particular JIRA version.
- From within the "skeleton" directory, run the command "atlas-run".
- Since you are running the atlas-run command for the first time, all your project's maven dependencies need to be downloaded. If you are behind a firewall, you may have issues downloading these dependencies.
- If you are running an anti-virus software like McAfee, it sometimes causes issues while running the atlas-run command. Disable your anti-virus.
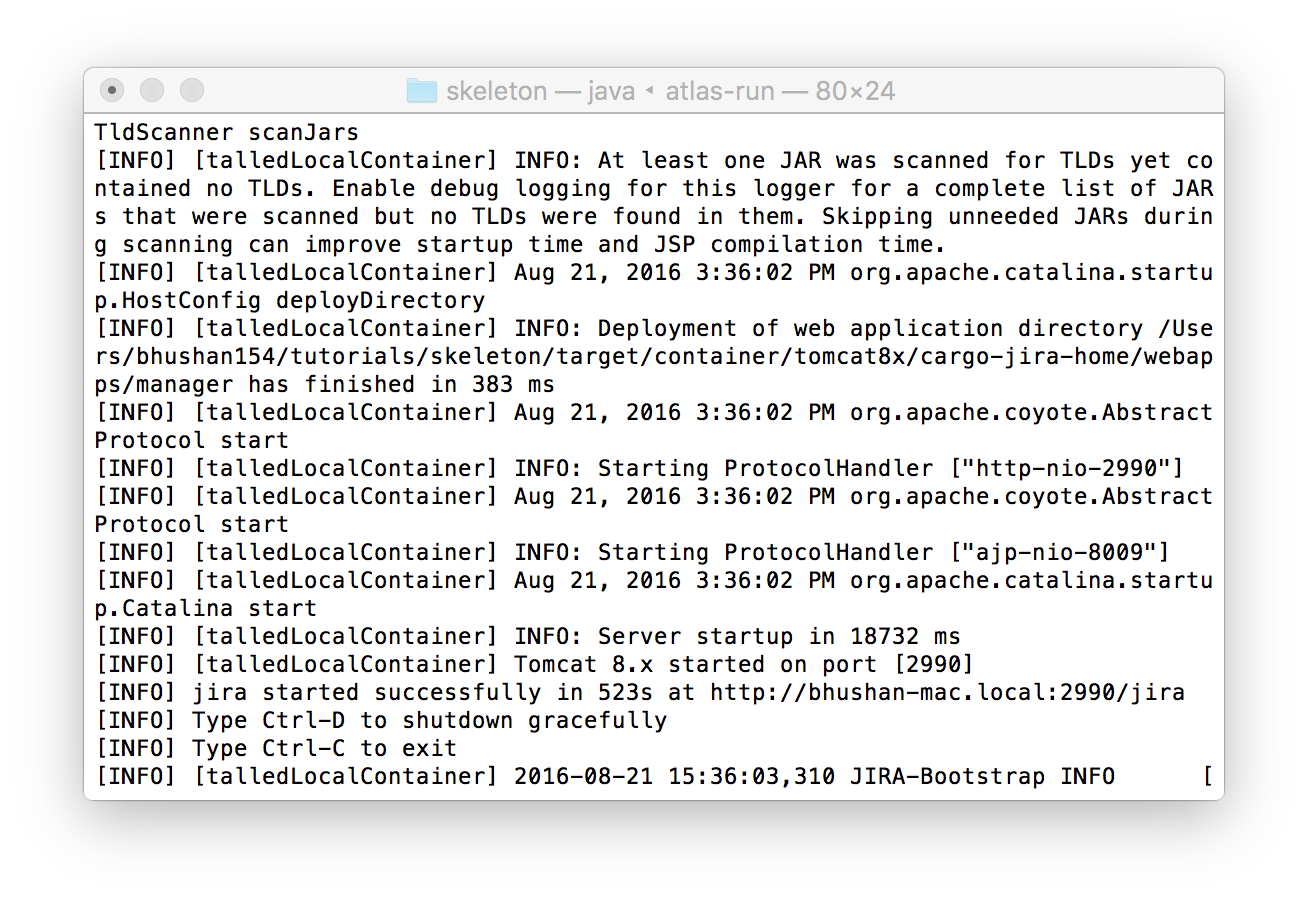
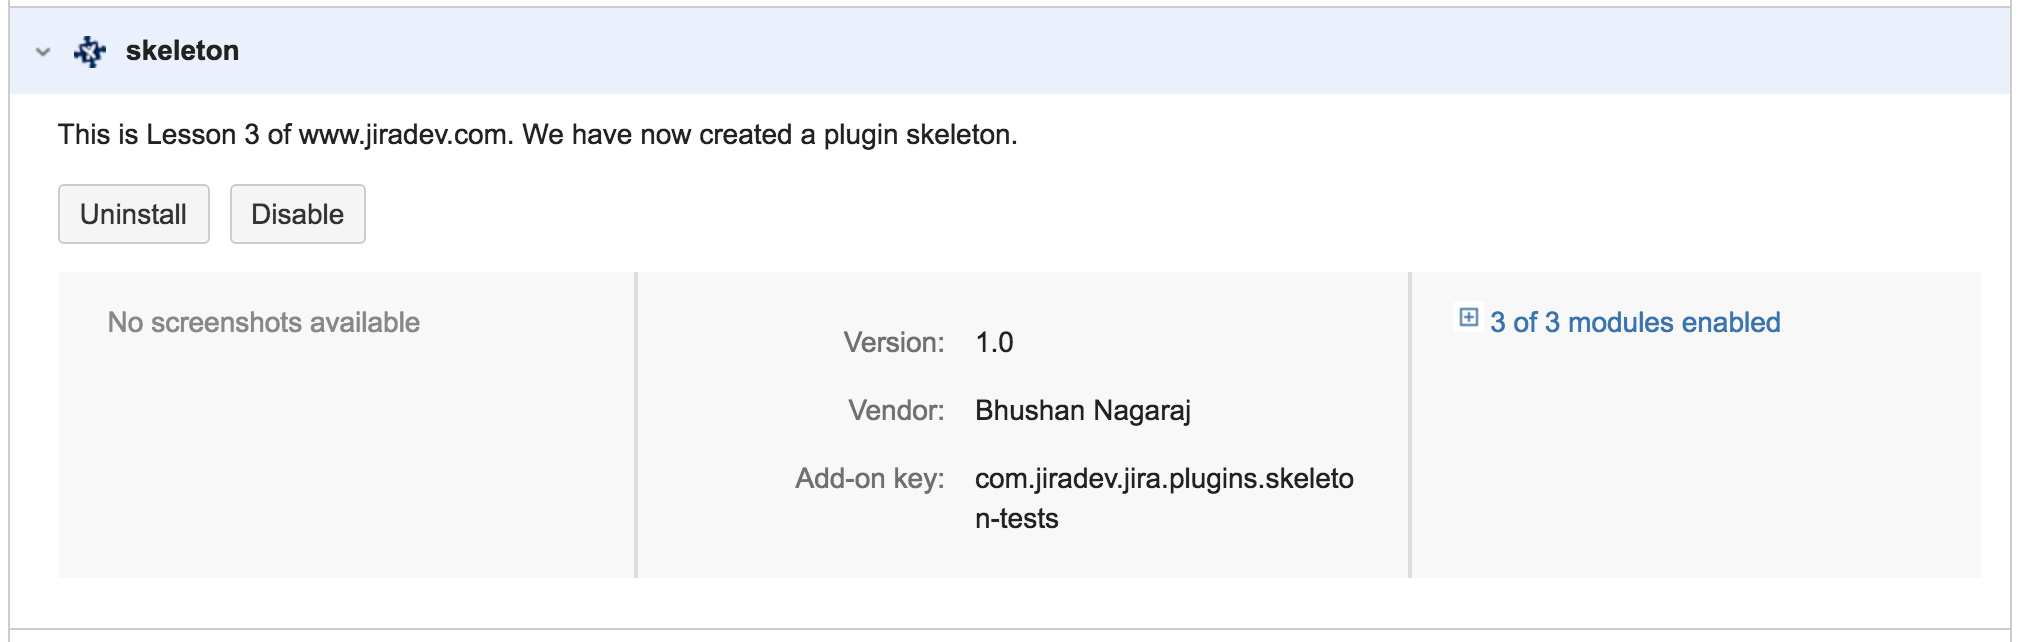
- As mentioned in the output, your instance of JIRA will now be accessible at http://localhost:2990/jira. Login using the username
"admin" and password "admin". Go to "Administration" and go to "Manage Add-ons". You should now see the "skeleton" plugin that we just
created.
- Great. You now know how to create a basic plugin skeleton and use the atlas-run command. To terminate the current execution, press Ctrl+C.
- Notice the skeleton directory now contains a new directory called "target". This is generated by atlas-run and contains all the files required by your local instance of JIRA that you just accessed. From the skeleton directory, run the command "atlas-clean". This will delete the target folder. A new instance of JIRA will be created the next time you run atlas-run.
Share
Show your support by tweeting about this tutorial. Is Jiradev something you would reommend? Let me know.
Contribute
Do you have a Jira plugin tutorial that can be used on this site? Please do share it with me and I can add it along with the ones available.
Feedback
Your feedback can help improve the content on this site. If you have anything that you would like me to change/implement on the site.